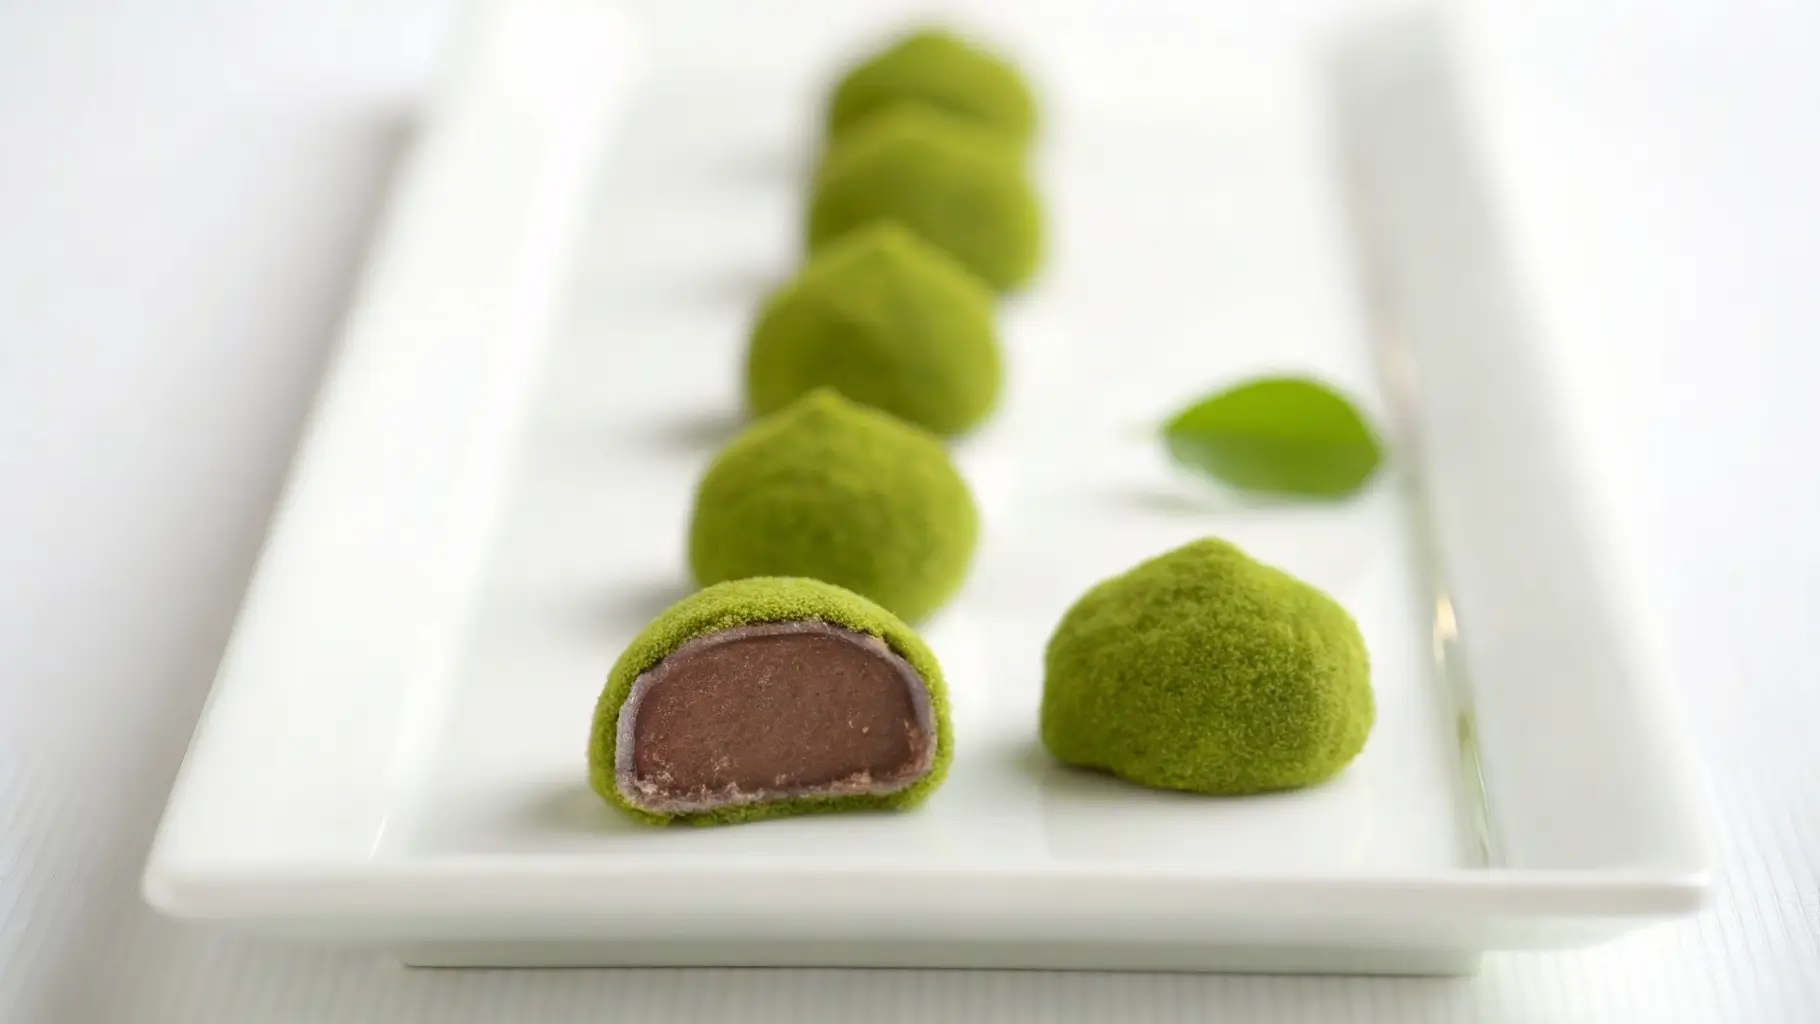
A Traditional Recipe Using Whole Rice
There’s something truly special about making matcha mochi from whole rice the old-fashioned way instead of pre-ground flour. It’s a labor of love, but the texture and flavor are unbeatable—soft, chewy, and perfectly infused with the earthy, slightly sweet notes of matcha.
If you’re craving mochi and want to make a quick version at home, not a matcha mochi from whole rice, don’t wait and check this easy recipe.
Unlike modern recipes that use mochiko (glutinous rice flour), this Recipe Using Whole Rice follows traditional Japanese techniques, where the rice is soaked, steamed, and pounded to create the perfect elastic dough. The result? Authentic matcha mochi that feels like a little piece of history in every bite.
Why Make Mochi from Whole Rice?
✔ Better texture – Naturally softer and stretchier than flour-based mochi.
✔ More authentic – Made using traditional Japanese methods.
✔ Deep, rich flavor – Cooking whole rice brings out its natural sweetness.
✔ No specialty flour needed – Just simple ingredients found in most kitchens.
Ingredients (Traditional Matcha Mochi – Made from Whole Rice)
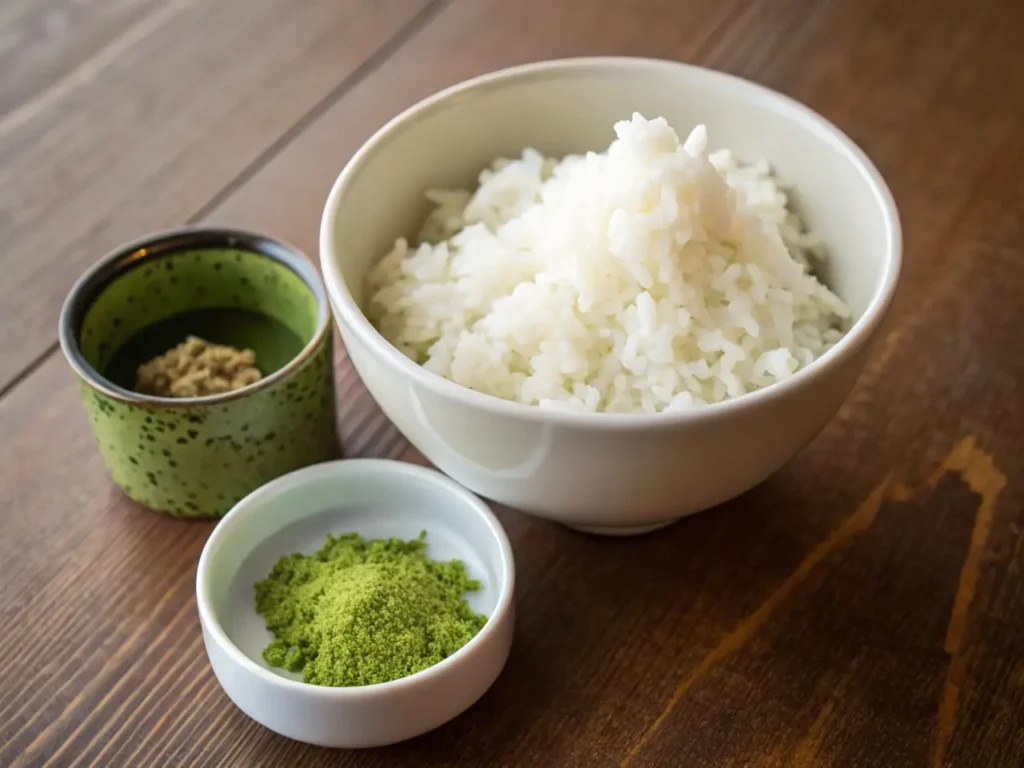
- 400g (2 cups) uncooked white rice (regular short-grain or sushi rice)
- 1 tsp salt
- Water (for soaking and cooking)
- 2 tbsp matcha powder (high-quality, unsweetened)
- 50g (¼ cup) sugar
- Cornstarch or potato starch, for dusting
- Sweet red bean paste (anko) or white bean paste (optional filling)
Step 1: Turning Regular Rice into Glutinous Rice
Traditional mochi is made with glutinous rice (mochigome), which has a naturally sticky texture. If you don’t have it, don’t worry! You can turn regular rice into a sticky, glutinous texture by following these simple steps:
- Rinse the rice under cold water until the water runs clear. This removes excess starch and ensures a smoother final texture.
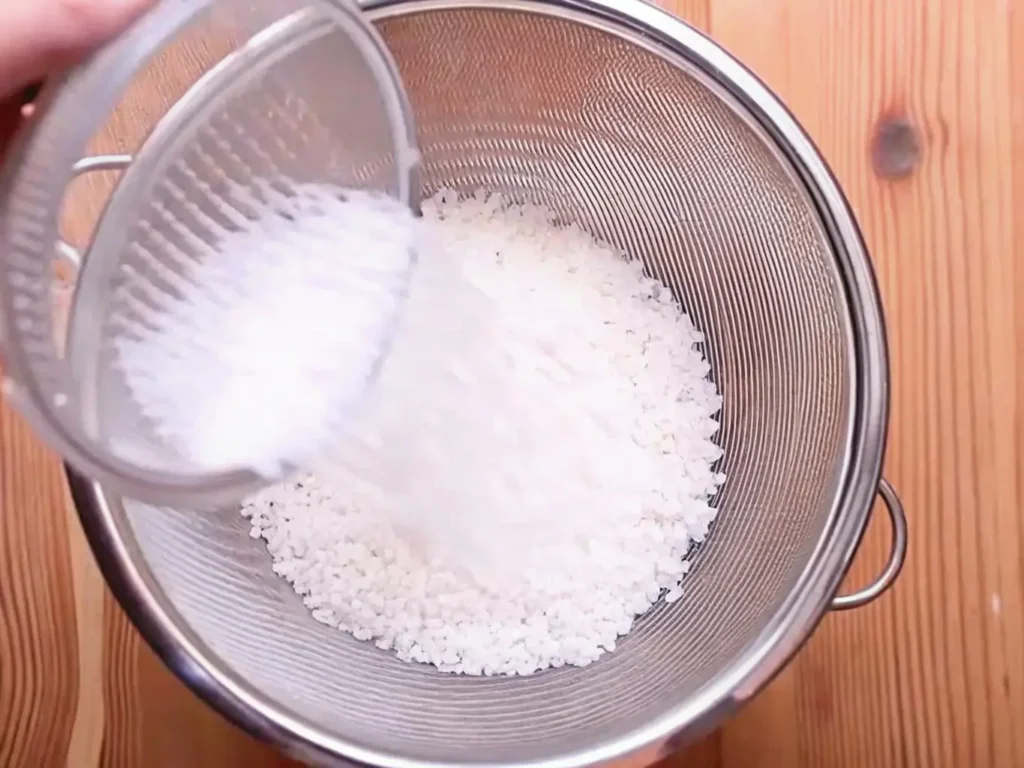
- Soak the rice for at least 8 hours or overnight in clean water. This step is crucial for softening the rice.
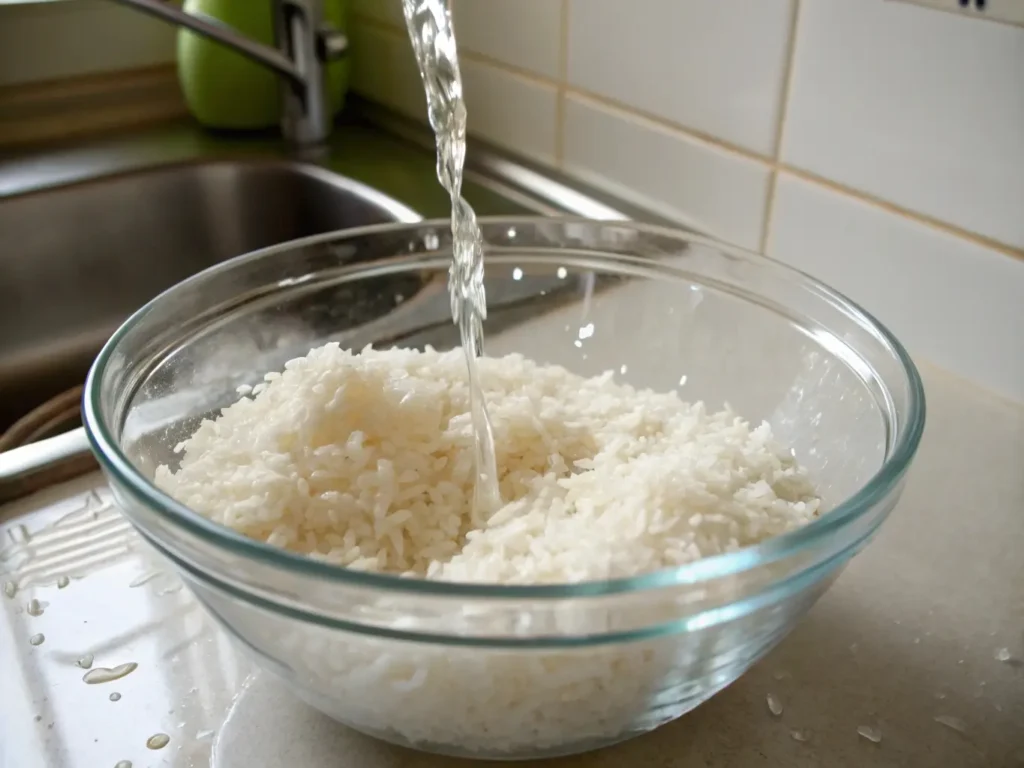
- Drain and transfer the rice to a pot. Add just enough water to cover the rice and let it sit for 30 minutes.
- Cook the rice on low heat until soft and sticky, about 20-25 minutes. Do not stir while cooking—this helps maintain the proper texture.
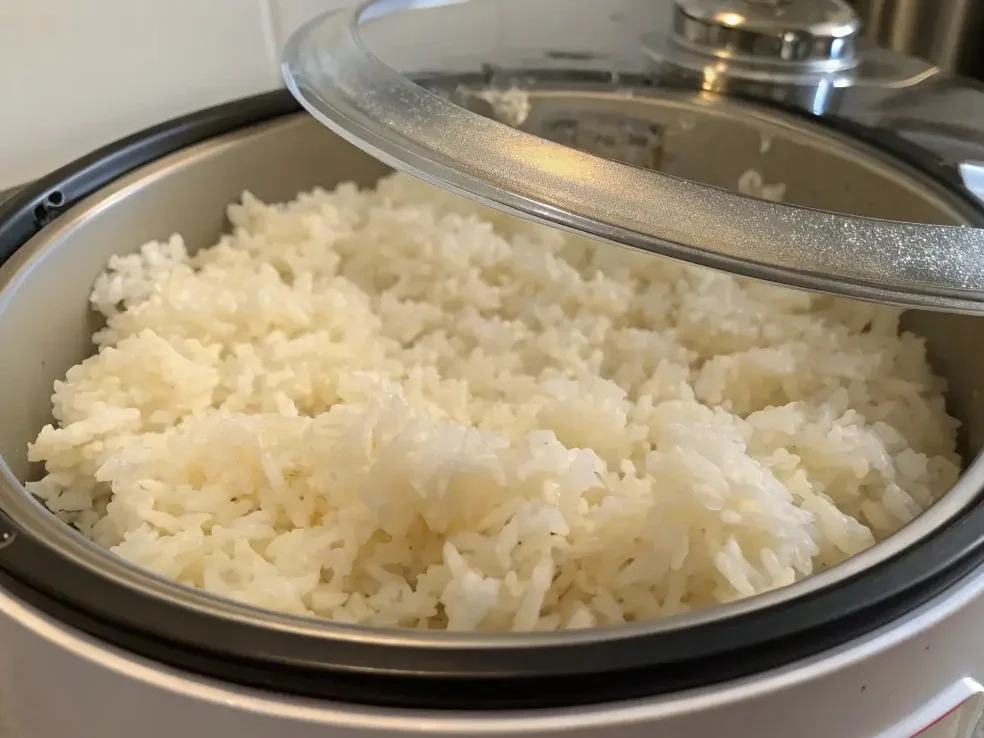
- Once cooked, let the rice sit covered for 10 minutes to absorb any remaining moisture.
Your rice is now soft, sticky, and ready to be turned into mochi!
Step 2: Making the Matcha Mochi Dough
- While the rice is still warm, transfer it to a large mixing bowl or a traditional wooden bowl (usu) and add salt.
- Traditional Method vs. Modern Shortcut
- Traditional Method (If You Want the Full Experience ): Using a heavy wooden spoon, potato masher, or pestle, start mashing and kneading the rice like you’re channeling generations of Japanese grandmothers. Press it down, fold it over, repeat… and repeat… and repeat… until the grains start to break down and things get gloriously sticky.
- The Easy Way (My Lazy Genius Move ): Or skip the arm workout and toss the steamed rice into a blender or food processor like I do. It’s not exactly what grandma did—but, your wrists will thank you and the mochi still turns out delicious.
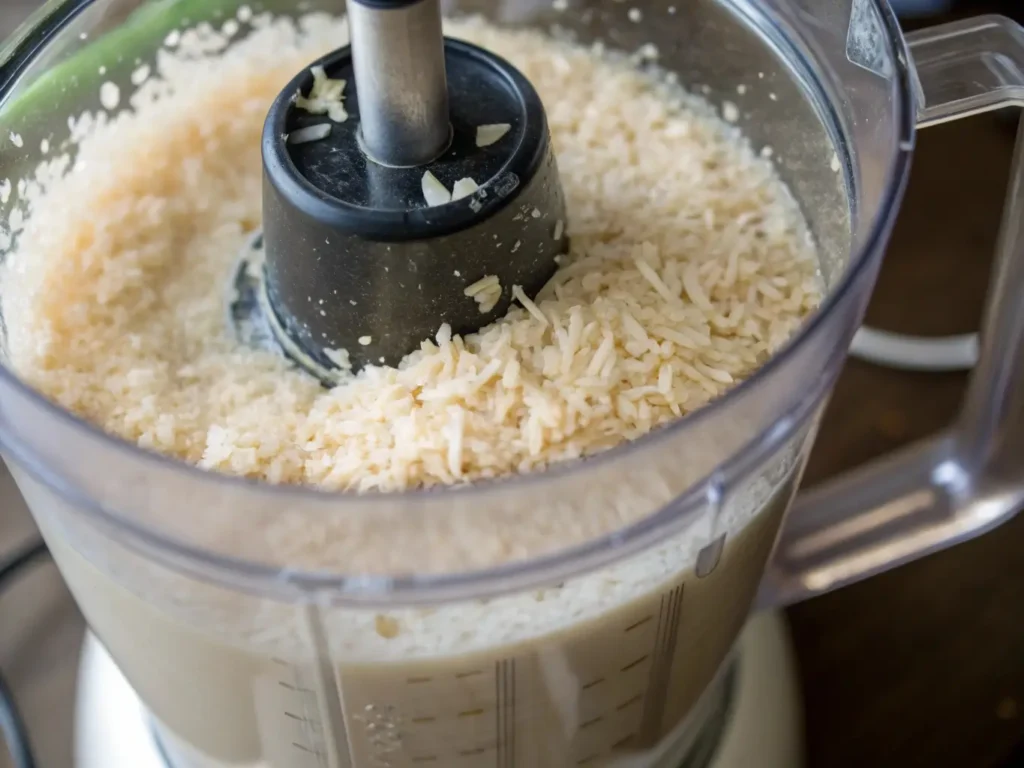
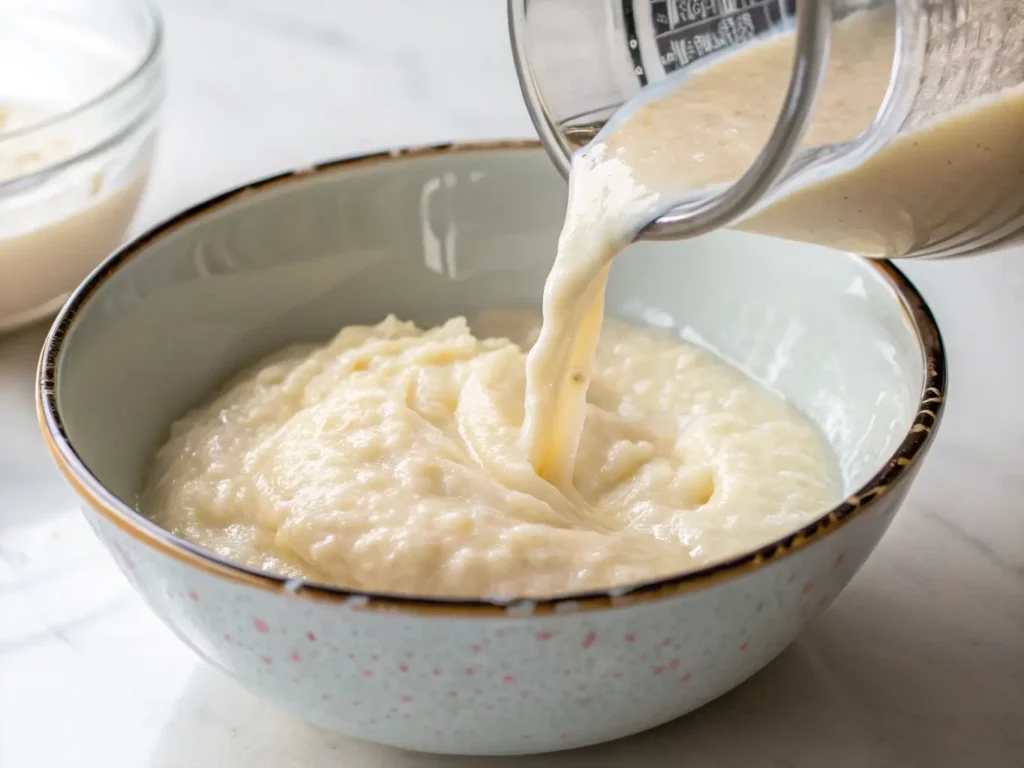
- After about 10 minutes, the mixture will start to look sticky and stretchy. Continue pounding and folding ( or mixing ! ) until it becomes completely smooth and elastic—this may take 15-20 minutes ( or 5 minutes !).
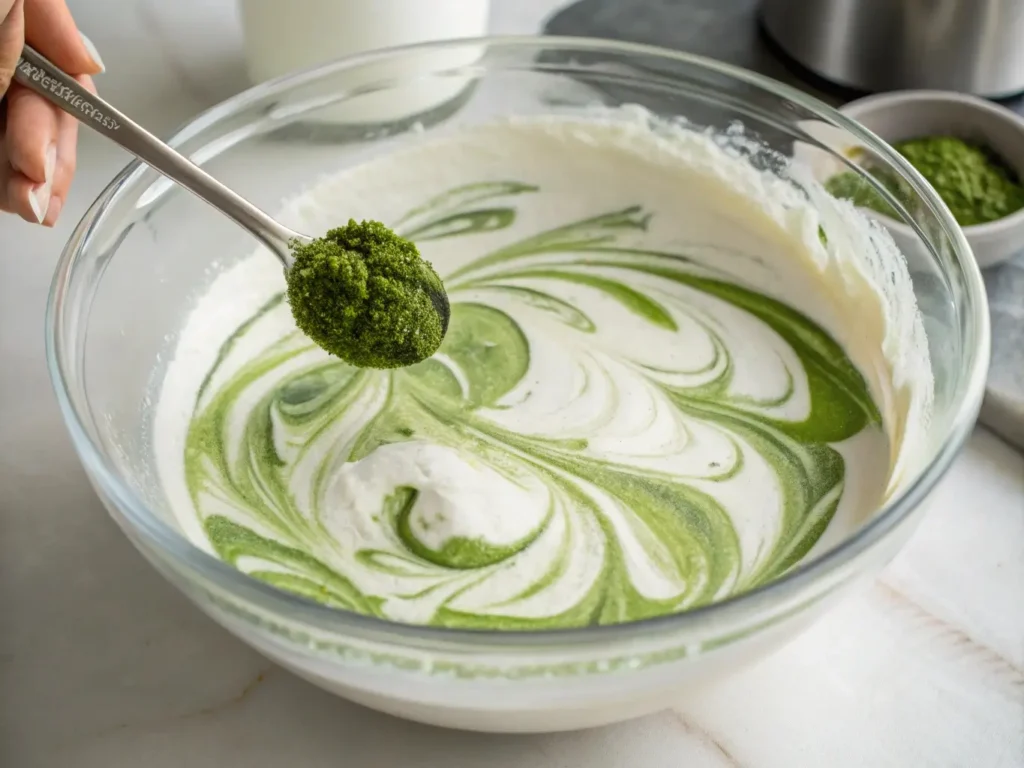
- Sprinkle sugar and matcha powder into the mixture, then knead until fully incorporated. The sugar helps keep the mochi soft, while the matcha adds its signature earthy flavor and beautiful green color.
Step 3: Shaping and Filling the Mochi
- Dust your hands and a clean surface with cornstarch or potato starch to prevent sticking.
- Divide the matcha mochi dough into small portions using your hands or a dough cutter.
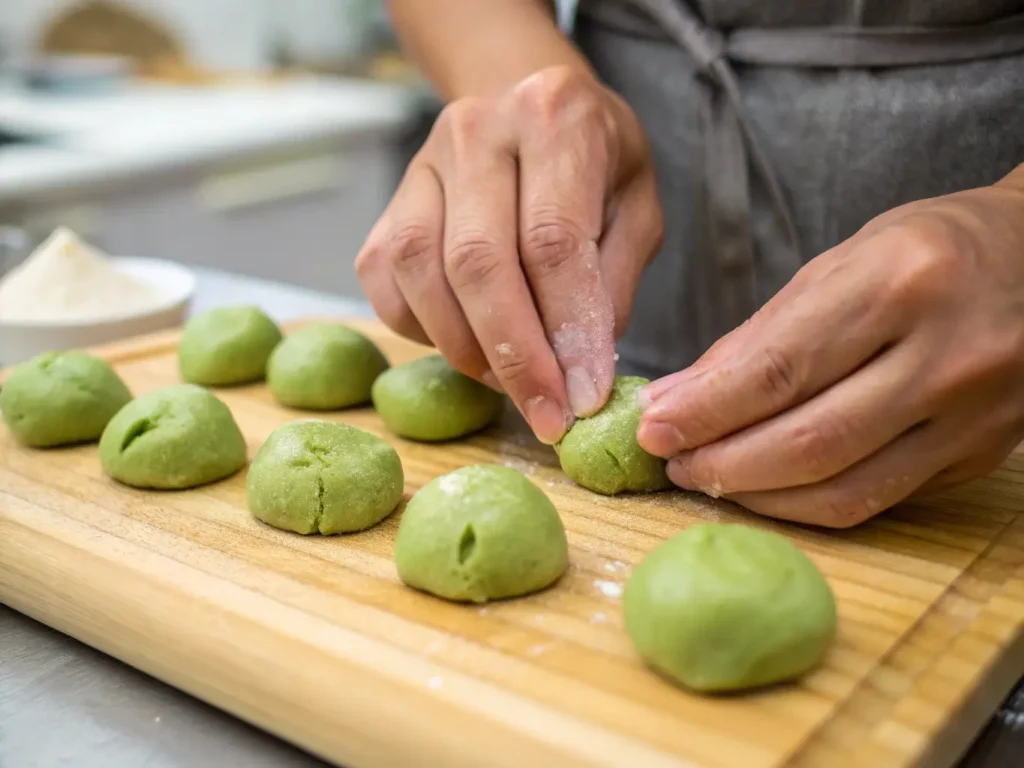
- Flatten each portion into a small circle, place a teaspoon of red bean paste or white bean paste in the center, and carefully pinch the edges together to seal.
- Gently roll each mochi into a smooth ball and lightly dust with starch.
How to Keep Mochi Soft and Fresh
Since this mochi is made with whole rice, it stays softer longer than flour-based versions. But to maintain its freshness:
✔ Eat within 24 hours for the best texture.
✔ Store in an airtight container at room temperature (avoid the fridge—it will harden).
✔ Freeze for up to 2 months, individually wrapped, and thaw at room temperature before eating.
FAQs About Matcha Mochi from whole rice
Can I Use Brown Rice Instead of White Rice?
Yes, but the texture will be less smooth and a bit firmer. If using brown rice, soak it longer (about 12 hours) to soften.
Is this Mochi matcha mochi from whole rice Naturally Gluten-Free?
Absolutely! Since it’s made from pure rice, matcha, and sugar, it contains no gluten. Just check any fillings to ensure they are gluten-free.
Why Is My Mochi Too Sticky to Handle?
Mochi dough is naturally very sticky, but dusting your hands and work surface with cornstarch or potato starch will help prevent sticking.
A Taste of Tradition, One Bite at a Time
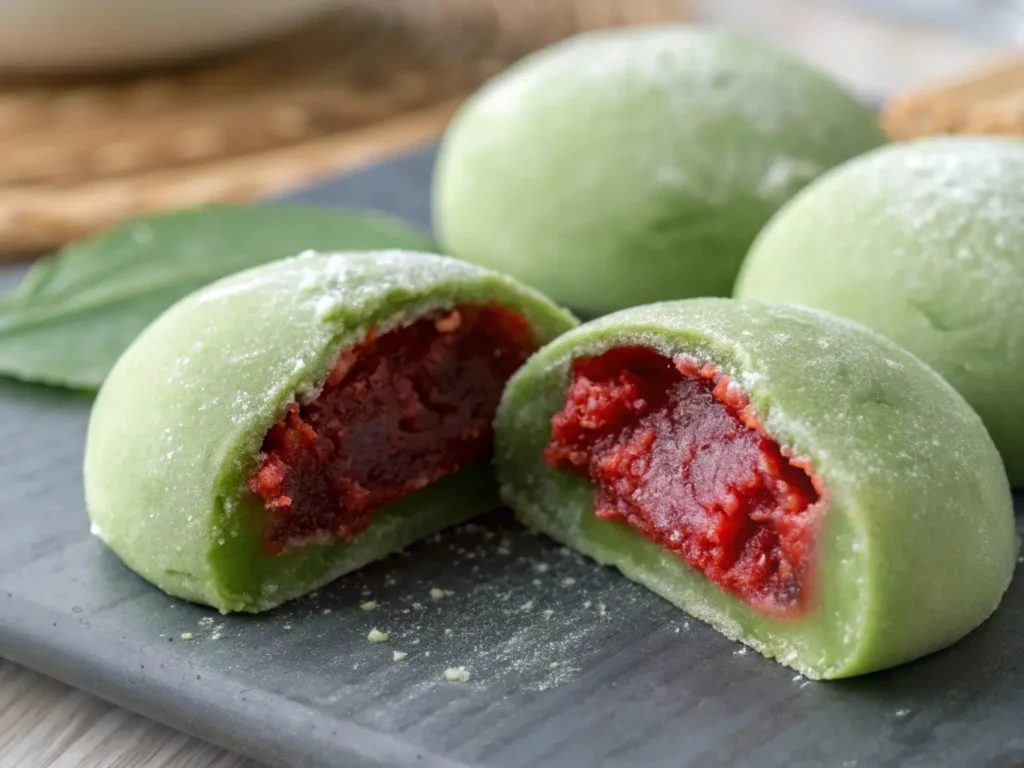
Making matcha mochi the traditional way is more than just a recipe—it’s a sensory experience. The act of steaming, mashing, and shaping the rice connects us to generations of Japanese cooking traditions.
If you love trying authentic recipes, this is a must-make. Whether enjoyed plain or with a sweet red bean filling, each chewy bite carries the delicate bitterness of matcha and the simple pleasure of homemade mochi.
Curious about where mochi comes from and why it’s so special in Japanese culture? This article from Japan House London beautifully explores its rich history.
Love recipes with heart, history, and flavor? Stick around—there’s plenty more tradition-inspired goodness coming your way.

