There’s something undeniably comforting about a sandwich that’s perfectly crisp on the outside, tender on the inside, and packed with rich, satisfying flavors. The Chicken Katsu Sando, a beloved Japanese sandwich, checks all those boxes. It’s simple “How to Make a Katsu Sando at Home”, yet indulgent. Crunchy, yet soft. Every bite feels like a warm hug, bringing together the irresistible crispness of breaded chicken, the creamy tang of Japanese mayo, and the delicate sweetness of soft, pillowy bread.
The first time I had a Chicken Katsu Sando, it wasn’t in a fancy café or a trendy restaurant. It was in a tiny Tokyo convenience store, tucked between neatly arranged bento boxes and onigiri. It was love at first bite—the contrast of textures, the balance of flavors, the sheer joy of something so humble yet so perfect. today, I want to share that magic with you, so you can bring a little piece of Japan into your kitchen.
What is Chicken Katsu Sando?
Chicken Katsu Sando (short for katsuretsu sandoitchi) is a Japanese sandwich that combines a crispy breaded cutlet (katsu) with soft, crustless milk bread (shokupan), usually dressed in a sweet and tangy tonkatsu sauce. Traditionally, it’s made with pork, but this chicken version is just as flavorful, a little lighter, and just as satisfying. The contrast between the crunchy, golden-brown chicken and the buttery-soft bread makes every bite an experience. And the best part? You don’t have to travel to Japan to enjoy it. You can make it right at home.
Ingredients for the Perfect Chicken Katsu Sando
| Ingredient | Details |
|---|---|
| 8 slices of Thick White Bread | Milk bread (shokupan) is traditional, but any pillowy soft white bread will do |
| 4x 5oz / 150g Chicken Breasts | Boneless & skinless – you can substitute with thighs (see tips below) |
| 1 cup / 240ml Vegetable Oil | Or any high smoke point oil like sunflower (avoid olive oil) |
| 1 cup / 60g Panko Breadcrumbs | Japanese breadcrumbs – light, airy, and super crispy |
| 1/4 cup / 30g Plain Flour | For dredging the chicken |
| 2 Eggs, beaten | Helps bind breadcrumbs to chicken |
| 1/2 White Cabbage, finely shredded | Use a mandoline, cabbage shredder, or a very sharp knife |
| Tonkatsu Sauce, to serve | Japanese BBQ/Worcestershire-style sauce (sweet-savory) |
| Kewpie Mayo, to serve | Creamy, umami-rich Japanese-style mayonnaise |
| Salt & Black Pepper | For seasoning flour and breadcrumbs |
How to Make Chicken Katsu Sando (Step-by-Step)
Step 1: Pound the Chicken
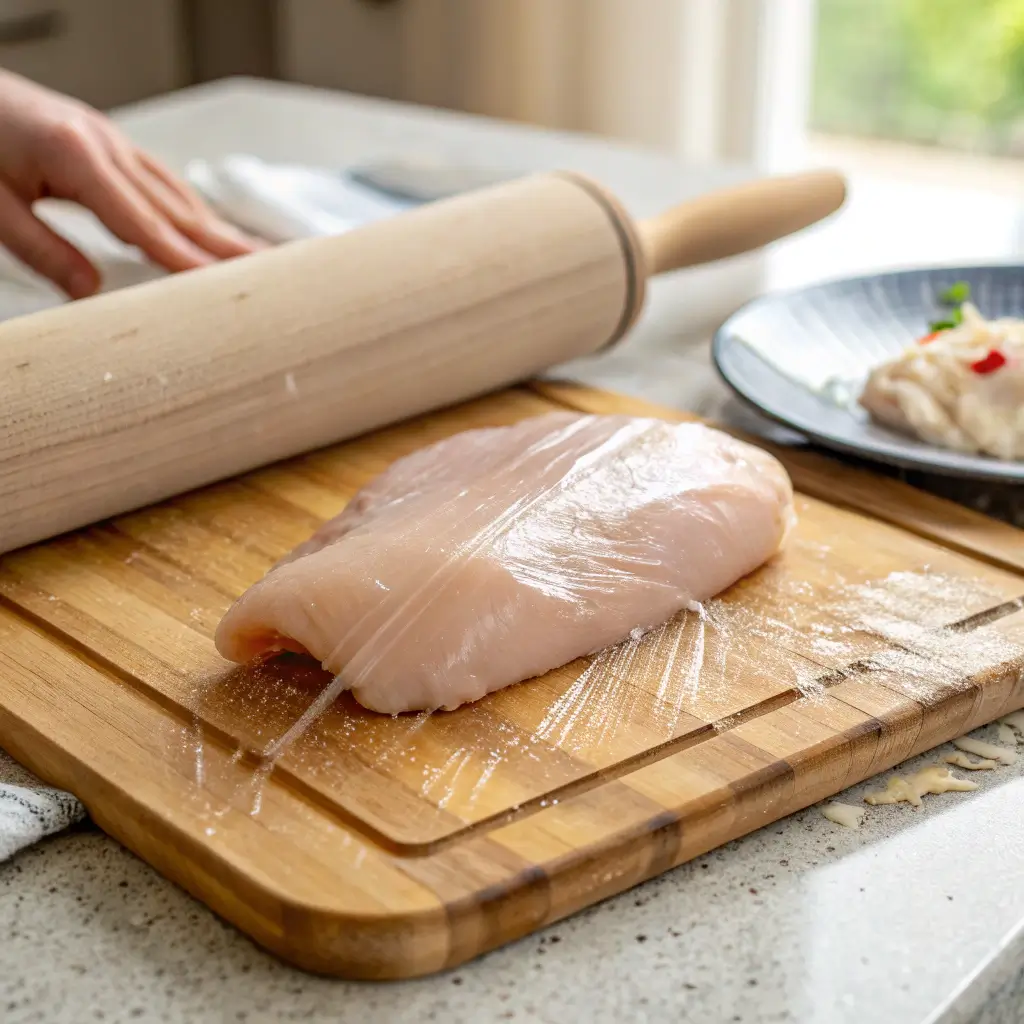
Lay each chicken breast on a cutting board, cover with cling film, and pound until evenly flattened (about ½ inch thick). This makes the chicken cook faster and stay juicy.
Pounding meat feels like therapy—plus it’s the secret to sandwich-perfect cutlets!
Step 2: Dredge the Chicken
Set up 3 shallow bowls:
- Bowl 1: Plain flour + a pinch of salt & pepper
- Bowl 2: Beaten eggs
- Bowl 3: Panko breadcrumbs + a pinch of salt & pepper
Now dip the chicken in this order:
- Flour (shake off excess)
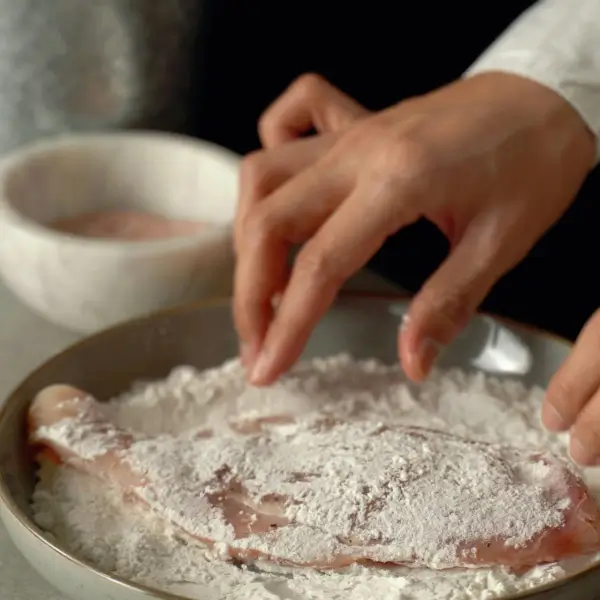
- Egg
- Panko – press to coat well
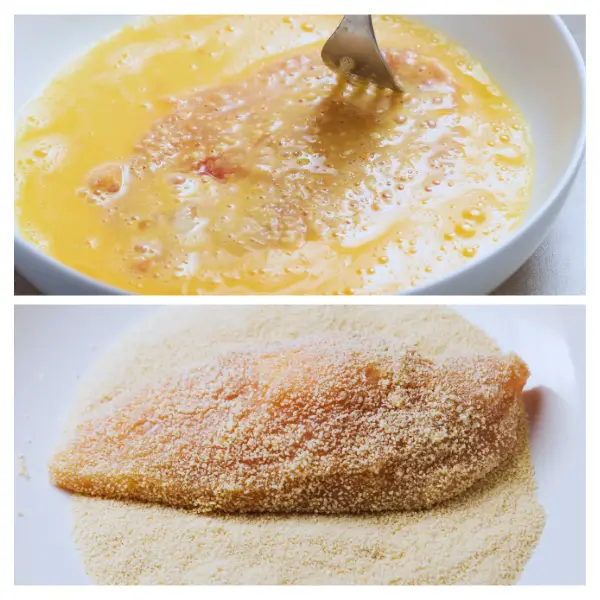
Designate one “dry” hand and one “wet” hand to keep things tidy.
Step 3: Fry the Chicken
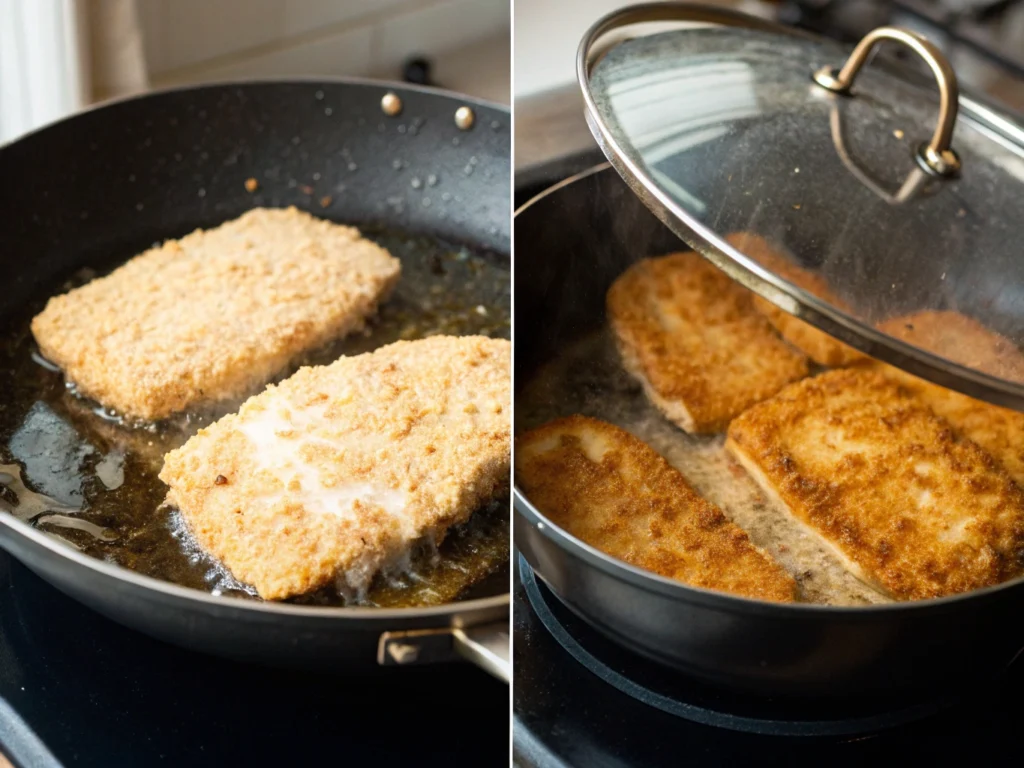
In a large skillet, heat enough oil over medium to shallow-fry (about ½” deep). The oil should reach 350°F / 180°C—drop in a few panko crumbs to test. They should sizzle immediately.
Fry the chicken for 4–5 minutes per side or until golden brown and fully cooked inside. Transfer to a wire rack with paper towels underneath.
Step 4: Build the chicken katsu sando

- Spread Kewpie mayo on one side of each slice of bread.
- On 4 of the slices, layer a handful of finely shredded cabbage.
- Drizzle with tonkatsu sauce.
- Add the crispy fried chicken.
- Drizzle again with tonkatsu sauce.
- Top with a second slice of bread, mayo side down.
Looking for inspiration? Try The Best 5-Minute Tonkatsu Sauce Recipe for your homemade sando.
Step 5: Trim and Serve
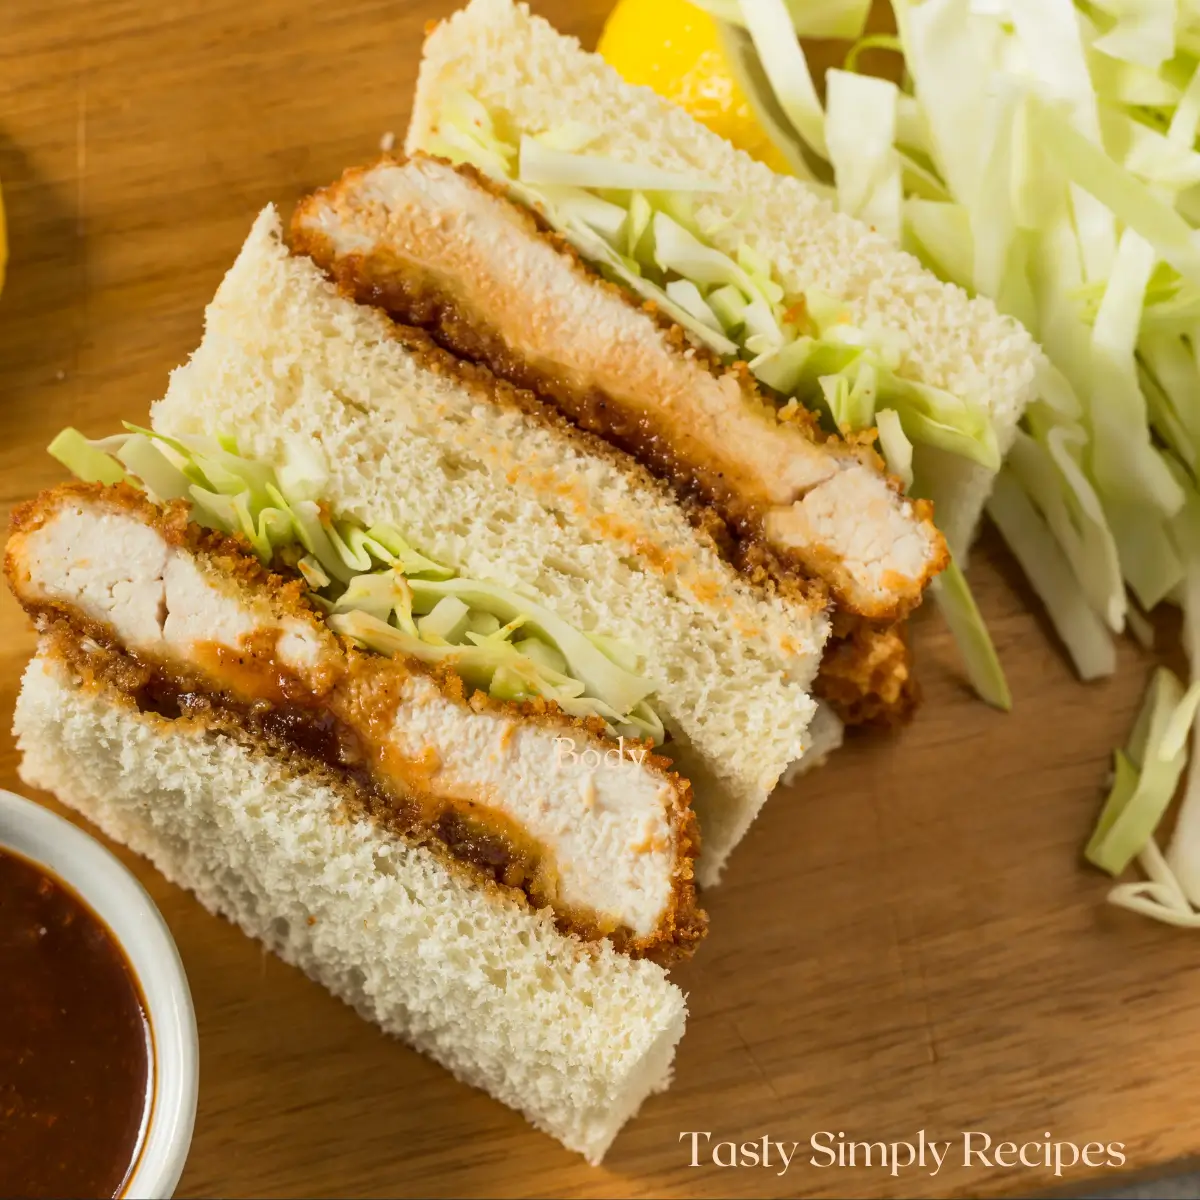
- Slice off the crusts for that classic Japanese look.
- Cut each sandwich into thirds or halves—finger sandwich style!
Traditionally in Japan, trimming the crust is a sign of care. It makes the sandwich feel more elegant—and easier to eat!
Tips for the Best Chicken Katsu Sando
- Cabbage Crunch: Chill it in ice water for 5 minutes, then dry thoroughly before layering—it gives the best texture.
- Chicken Options: You can substitute chicken thighs, but make sure they’re boneless/skinless and pounded flat. Thighs offer more flavor; breasts stay lean and slice cleanly.
- Panko: Essential for that signature crunch. Regular breadcrumbs won’t be the same.
- Tonkatsu Sauce: Find it in Asian grocery stores or mix your own: 2 tbsp ketchup + 1 tbsp Worcestershire + 1 tsp soy sauce + sugar.
What to Serve with Katsu Sando
Pair this sandwich with simple yet delicious sides to complete the experience:
- A bowl of miso soup for a comforting, umami-rich pairing
- Japanese potato salad, creamy and slightly sweet, complements the crispy chicken
- Pickled vegetables like radish or cucumbers for a refreshing contrast
- Iced matcha latte or hot green tea for a true Japanese café experience
- Discover great ideas like Korokke (Japanese Potato Croquettes) to serve alongside your Katsu Sando.
Frequently Asked Questions
Can I bake the chicken instead of frying it?
Yes! Place the breaded chicken on a wire rack over a baking sheet and bake at 200°C (400°F) for 20 minutes, flipping halfway.
What’s the best substitute for shokupan?
Brioche is a great alternative because of its soft, slightly sweet texture. If you prefer something heartier, try a thick slice of sourdough.
How do I store leftovers of this chicken katsu sando?
If you have leftover chicken katsu, store it separately from the bread in an airtight container in the fridge for up to 2 days. Reheat it in the oven or air fryer for best results.
Can I make this ahead of time?
The chicken can be breaded and refrigerated up to a day in advance. Fry it just before serving for the best texture.
If you love discovering comfort food, check out How to Make the Best Chicken Cutlet Sandwich at Home for another crispy classic.
Final Thoughts of Chicken Katsu Sando
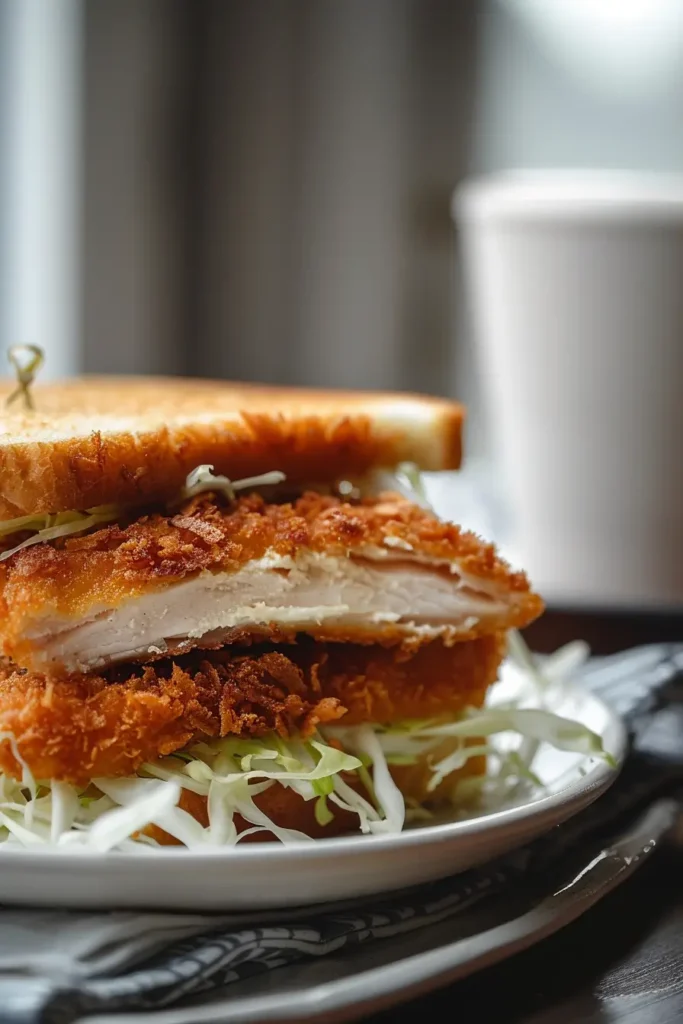
There’s something undeniably soulful about making a chicken katsu sando at home. It’s more than crispy panko and soft bread—it’s comfort, nostalgia, and a passport-free journey to the heart of Japan. Whether you’re enjoying it hot from the pan, packing it in a bento box for a scenic picnic, or savoring it with a warm cup of green tea, this sandwich brings the flavors of Tokyo street stalls and convenience store counters right into your kitchen.
And suppose you are ever lucky enough to visit Japan. In that case, I highly recommend stopping by the iconic Maisen Aoyama in Tokyo—one of Japan’s most celebrated restaurants known for its melt-in-your-mouth katsu sandwiches. Their version was one of my earliest inspirations and continues to shape how I recreate this dish.
Ingredients
Equipment
Method
- Place each chicken breast between plastic wrap and pound evenly to about 1/2 inch thick. Season with salt and pepper.
- Set up 3 bowls:
- Bowl 1: flour + salt & pepper
- Bowl 2: beaten eggs
- Bowl 3: panko breadcrumbs + pinch of salt
- Coat each breast in flour, then dip into egg, and press into panko. Ensure full coverage.
- Heat 1/2 inch of oil in a skillet over medium heat (350°F / 180°C). Fry chicken 4–5 minutes per side until golden brown and cooked through. Drain on a wire rack.
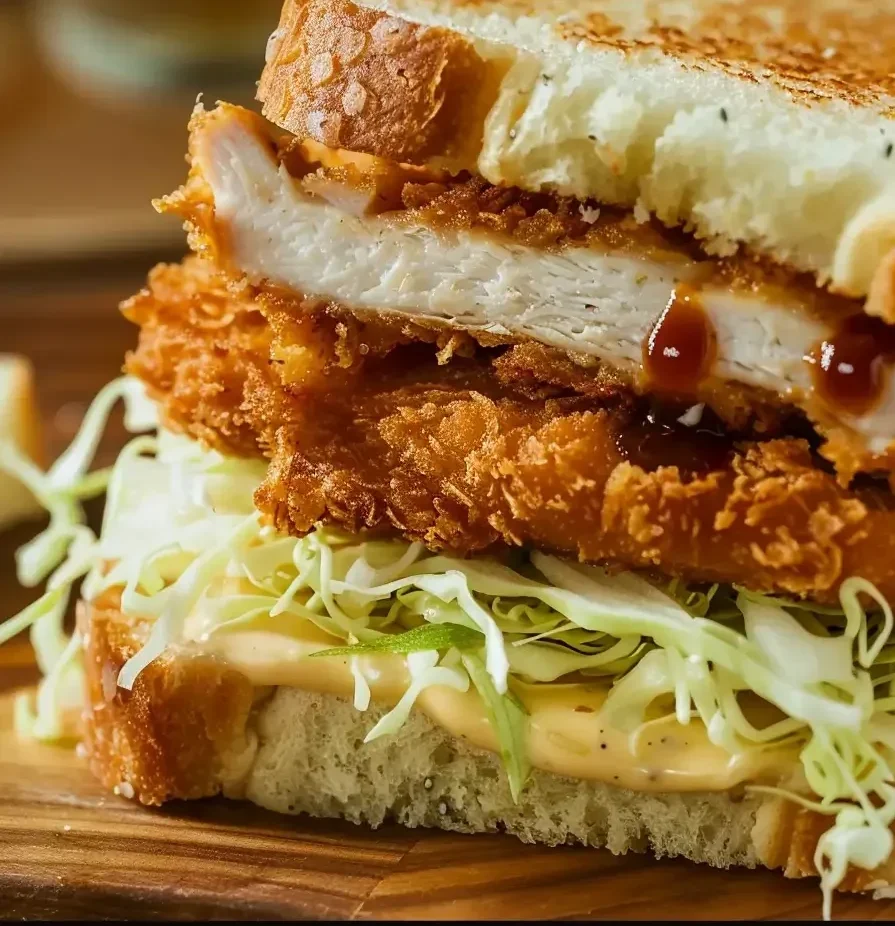
- Spread Kewpie mayo on one side of each slice of bread. Top four slices with shredded cabbage, drizzle with tonkatsu sauce, place chicken on top, drizzle again with sauce, and top with the second slice (mayo side down).
- Press sandwiches lightly, trim crusts, and cut into halves or thirds. Serve warm or pack for later.
Notes
- Bake Instead of Fry: To reduce oil, bake the breaded chicken on a wire rack at 400°F (200°C) for 20 minutes, flipping halfway. The cutlet still gets crispy thanks to the panko.
- Shokupan Substitutes: If Japanese milk bread (shokupan) isn’t available, use brioche or any soft, thick-sliced white bread. For a more rustic twist, sourdough works well too.
- Homemade Tonkatsu Sauce: No store-bought sauce? Mix 2 tbsp ketchup, 1 tbsp Worcestershire sauce, 1 tsp soy sauce, and 1/2 tsp sugar for a quick, delicious alternative.
- Chicken Options: Boneless, skinless chicken thighs can be used for a juicier cut. Pound them thin for even cooking and better sandwich stacking.
- Cabbage Tip: Soak shredded cabbage in ice water for 5 minutes, then pat dry before layering. This adds extra crunch and freshness to the sandwich.
- Make-Ahead Tips: You can prep the chicken and refrigerate it (breaded but uncooked) for up to 24 hours. Fry just before serving for the best texture.
- Lunchbox Friendly: Wrap the sandwich tightly in parchment or plastic wrap after trimming and slicing. Keeps well for 4–6 hours if stored cool, making it perfect for bento boxes or picnics.

Hello! I hope you’re having a great day. Good luck 🙂
Thank you 🙂